


Planting A Clover Plot
By Zach Rozmus
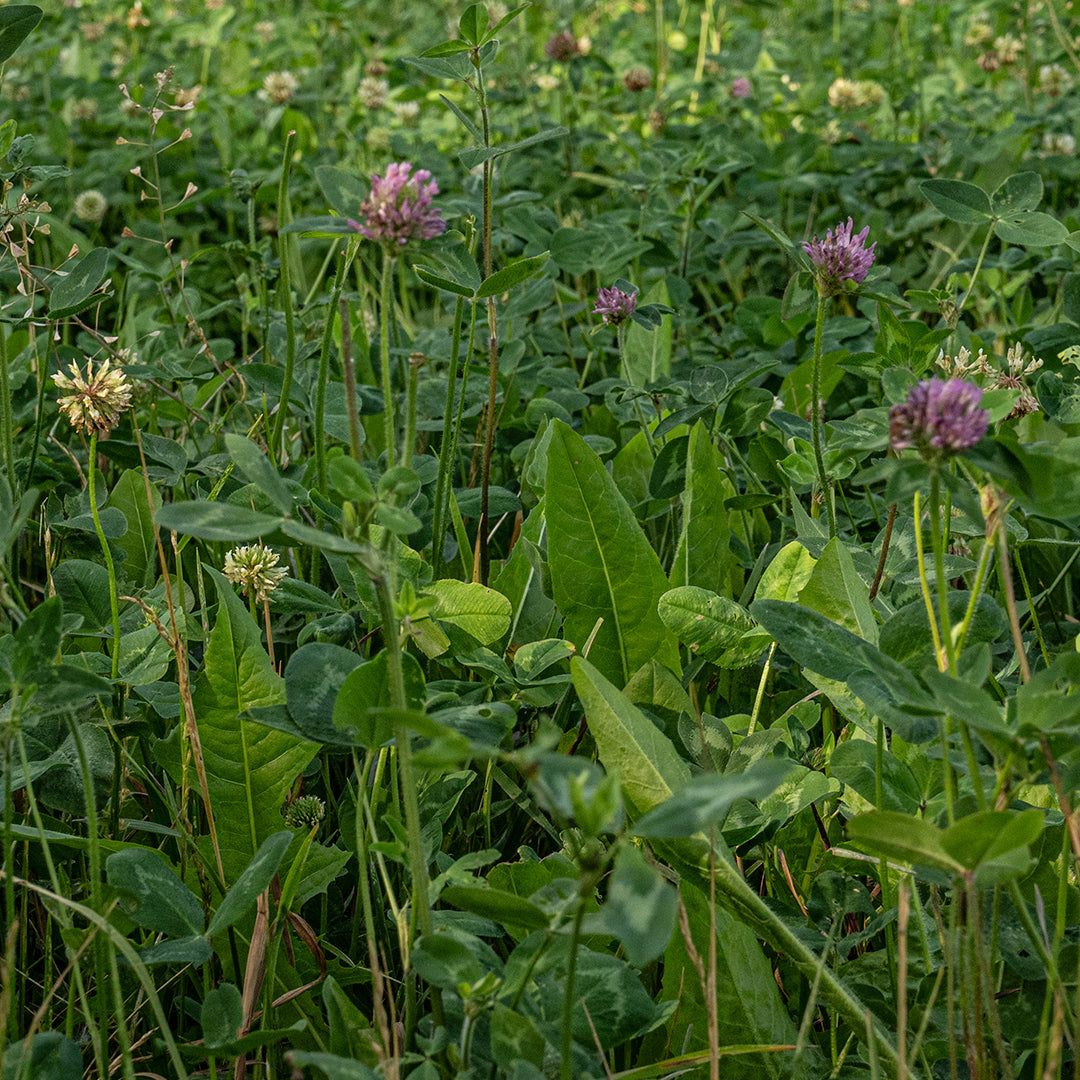
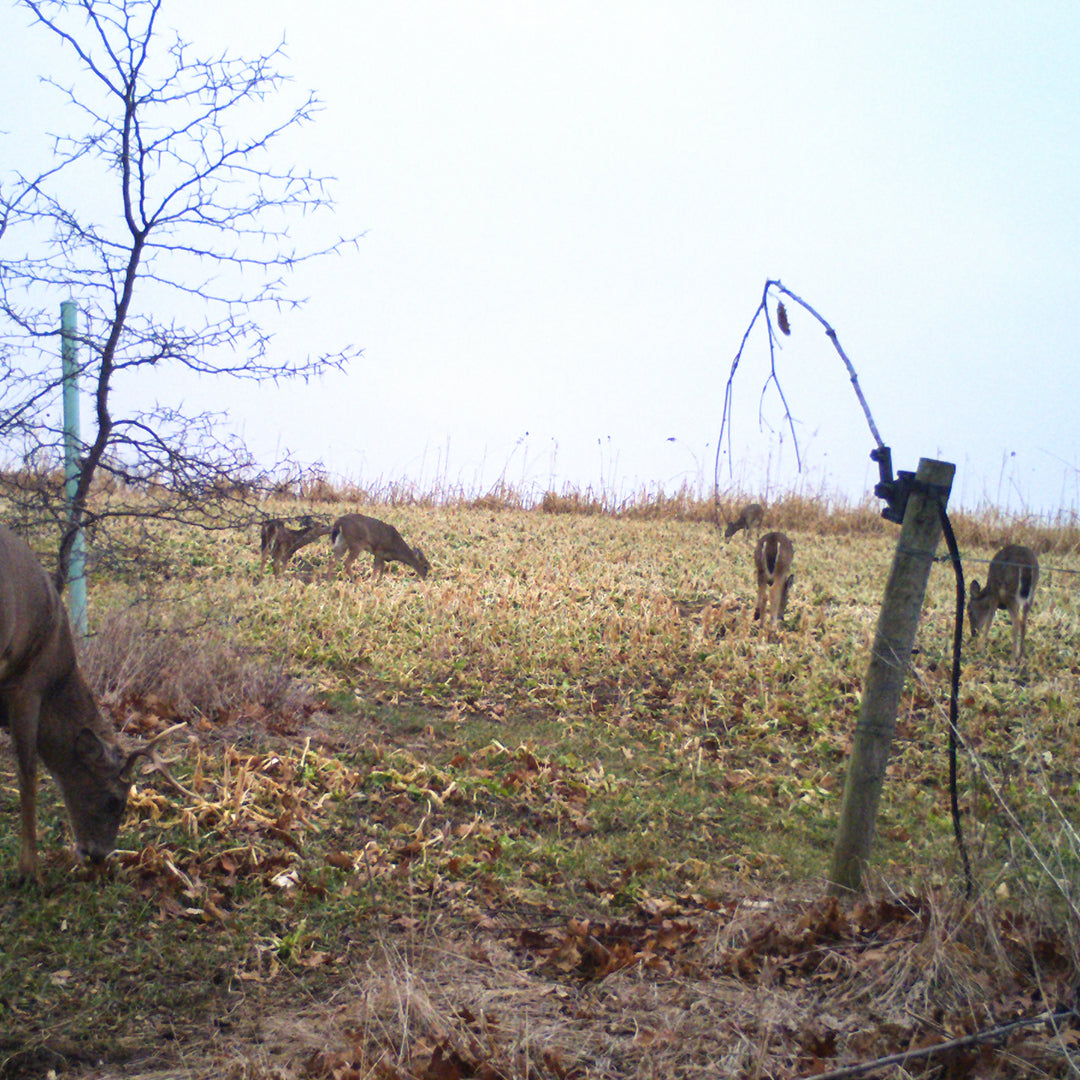
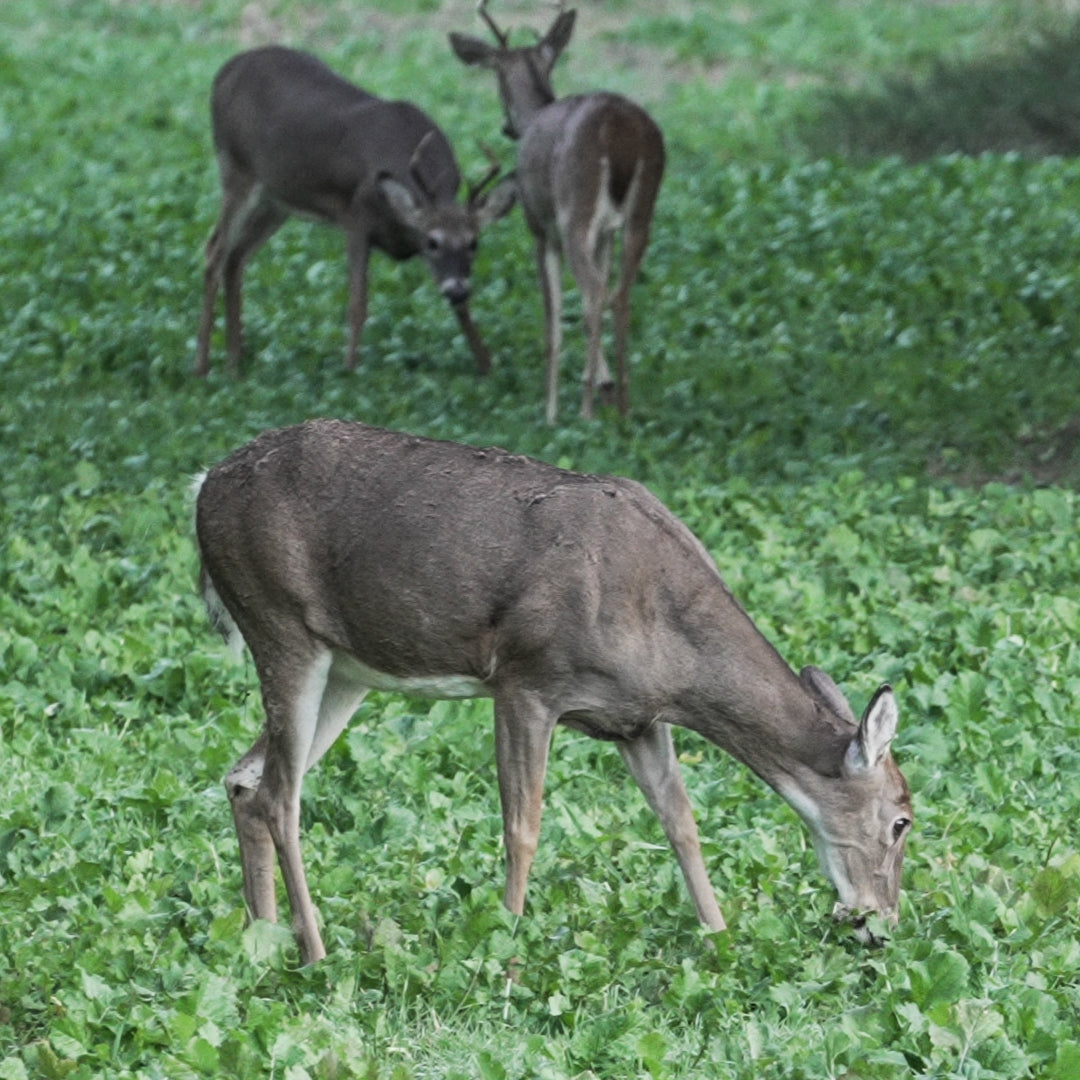
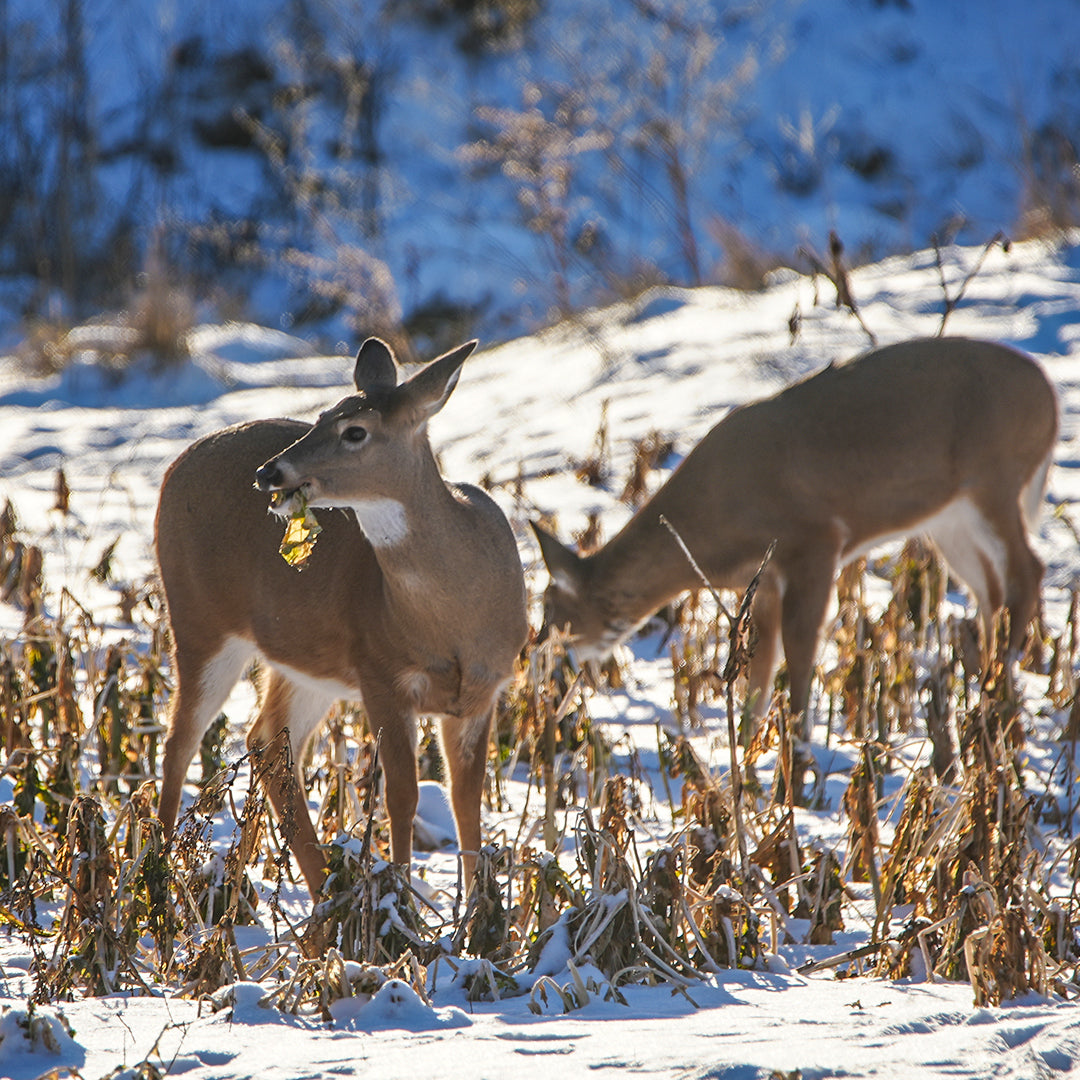
Over the years, clover has become my favorite choice when it comes to food plots. The plots are inexpensive to establish and with a little maintenance can be excellent food sources on nearly a year-round basis. For years I mowed my clover plots with push mowers, weed whackers, zero-turn mowers, and when necessary, hand sprayers for herbicide application. The plants will stay green throughout almost the entire hunting season and will be one of the first plants to come to life in the spring. The high protein content makes it a favorite food source for all facets of wildlife, not just whitetails. Clover is a favorite food source for countless pollinating insects. So, when it comes to managing for diversity, the plots can be a huge staple for increasing the holding power of any property. Before we dive into my story however, if you’re brand new to planting clover or need a starting place on the steps to establish one, here’s a list that has served me well.
Step 1: Determine your desired food plot location
Location, location, location. Similar to real estate it's critical to put lots of time and effort into selecting the desired location for your food plots. I always encourage everyone to consider how they’ll access plots before they commit to a specific spot. Clover is renowned for its ability to grow in a wide array of soil and light conditions so often overlooked/underutilized areas can be great locations for food plots.
Step 2: Determine the shape and size of your food plot
You can utilize many different options out there to calculate this but my preference is utilizing the path tracking feature inside of OnX hunt. After walking my desired border of the food plot I then drop an area tool around that exact path yielding an acreage total for the future clover plot. It's important to remember that bigger isn't always better, especially when considering archery shots. Oftentimes creating an irregular shaped plot that is a little smaller in size can help direct deer and turkeys to specific locations within a plot that can make for shorter, more ethical shot opportunities.
Step 3: Collect a soil sample
You’ve done the hard part. You’ve gone back and forth on where you thought the plot should go, and finally made a decision. You’ve determined the rough plot shape. Now it's critical to take the time to collect a soil sample. Why skip out on the easiest and potentially most important step? Soil tests are affordable and readily available. Getting your pH correct from the beginning will help lay a strong foundation for your plot, and help ensure your clover will be a lush food source for years to come.
Once you get the results of the soil test, apply nutrients as needed to get your pH as close to 7 as possible. Don’t be afraid to consult your local farm co-ops on this. In my experience their staff is more than willing to help make sense of a soil test, and oftentimes will help get you the products you need.
Step 4: Select your seed blend
I personally will always gravitate towards seed blends over planting a single variety. Each variety of clover possesses unique attributes that allow them to be successful in different growing conditions. When you combine multiple varieties together you can increase your chances of the plot being successful.
In addition, you’ll need to determine whether or not you want to select perennial varieties or annual varieties. Perennials are multi-year plant species that will survive multiple growing seasons. Whereas annual varieties will grow quickly but their entire life cycle will occur in one growing season. Meaning you’ll have to reseed the plot the following year.
Step 5: Seed to soil contact
If you don't have access to a no-till drill you have to find a way to get seed to soil contact. Oftentimes this means using herbicide to rid the plot of vegetation. Then disking/tilling the plot to expose the soil. If you don’t have access to a tiller or disk you can always use fire to burn off the vegetation that has been killed with herbicide.
After exposing the dirt use a seed/fertilizer spreader to evenly disperse the next across the plot. Clover seed is extremely small in diameter so a trick I like to use to ensure even coverage is to set your spreader on the lowest setting possible, make it all the way through the plot snaking back and forth. Then repeat that process by snaking perpendicular to your initial pass through the plot. This will ensure even coverage across the plot and help eliminate the potential for gaps in your seeding. Using
Once the seed is on the ground take the time to pack the seed bed. I typically use a water filled yard roller I pull behind my utv but even driving across the plot with your tires will help ensure seed to soil contact.
Step 6: Weed Management
Once the plot begins establishing itself periodic mowings will help suppress weed competition. Clovers grow at such a rapid rate that they will oftentimes naturally outcompete weeds. When mowing plots be sure not to go shorter than 4 or 5 inches, anything shorter than that can be harmful to the clover. In addition, always always check to make sure there is rain in the forecast following your mowing. One of the quickest ways to kill or set back a clover plot is to mow them during dry conditions. If grasses within the plot become a problem, a herbicide called clethodim can be used to kill the grass and not the clover.
If you follow these steps I'm confident you’ll have the makings of a beautiful clover plot that all kinds of wildlife will enjoy.
All of my life, my dream has been to own my own dirt. Below is the story on how traditional clover planting and that goal have gone hand in hand setting the stage for what is hopefully going to be my best season yet in 2024. Before we get there though, let’s go back to the beginning, navigating step by step on how we arrived at the current day.

In 2021, my wife and I achieved a lifelong goal of purchasing our first farm. The property checked all of our boxes as it possessed a blend of open area and timber. In addition, the property had received little to no management for wildlife in the past, so I felt there was immense potential to enhance the property which would lead to better diversity, better hunting, and the potential for a strong financial return on our investment.
We closed on the property in early July, which created a sense of urgency to establish food plots for the season. Within days of closing, I had equipment onsite, and I worked to carve out 6 food plots on the property. All 6 of the plots were small - between 1/2-1 acre. My thought process was to create different plots that were huntable for different winds and were situated on different areas of the farm. Since I had no history on the property, I wanted to obtain as much information as I could in year one about how the wildlife were using the property, and which plots had the potential of being long-term options for food sources. Of the six plots, there was one that always ranked above the others in my mind. The plot was roughly a ½ acre in size and sat near an old brush pile that was created by the previous landowner clearing out locust trees from the fence row. Even without historical data to draw from, I knew this location had the potential to be very huntable. A beautiful white oak tree with lots of branches was ideally located at the northwest corner of the plot which set up well for any southerly wind. Just yards from the tree, the elevation dropped into a series of ditches that would be difficult for deer to cross on the downwind side. I expected that same ditch to be a factor when hunting thermal type conditions as it would cause the cooler air to sink down into the lower sections, carrying any hunter’s scent with it.

To begin establishing this plot, I first used my tractor with a rotary mower to mow the vegetation, which was predominantly brome grass and goldenrod. Once the plot was mowed, I used a 5-gallon backpack sprayer to apply herbicide to the plot with the goal of eliminating all the existing vegetation. For this specific spot, I used a blend of glyphosate, a non-selective herbicide, and 2,4-D, which is a broadleaf selective herbicide. Conditions during this time were extremely dry, so within 4 days, most of the plot was wilting or turning shades of yellow/brown, which was an indication of a good kill on the vegetation. Though the conditions were dry at this time, I elected to till the plot with a small 4ft tiller that was mounted on the back of my tractor. I had concerns I would dry out the already dry soil further, but since this was a first-year plot I wanted to level out the plot to make it easier to maintain in the future. The plot was riddled with holes and dips in various locations. I’ll never forget tilling this specific plot because I hit a ground bee nest that I was unaware of and was stung by hundreds of bees within seconds! Fortunately, I’m not allergic to bees. Although it was extremely painful, I was able to finish the plot once the bees calmed down.

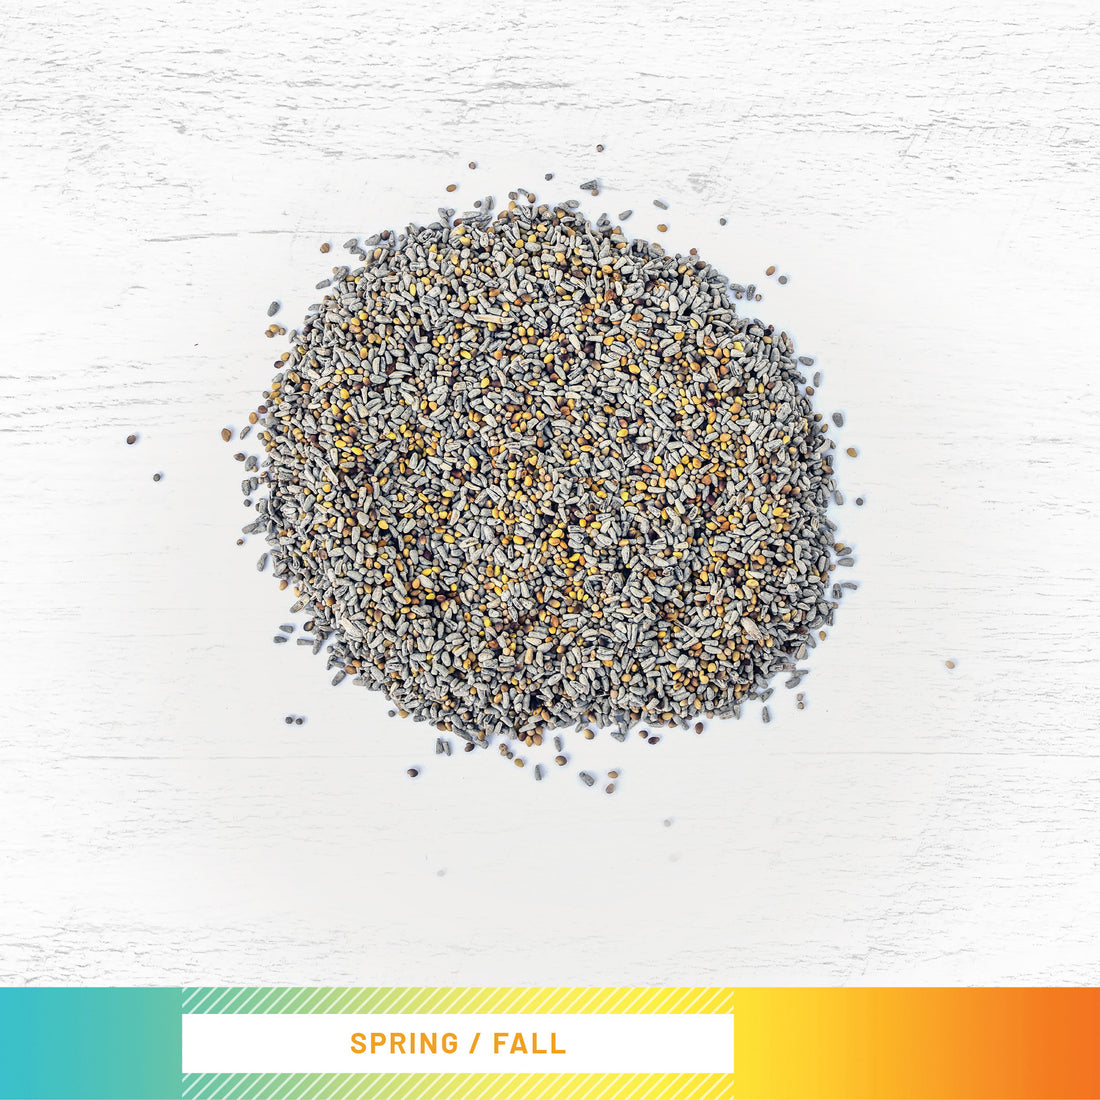
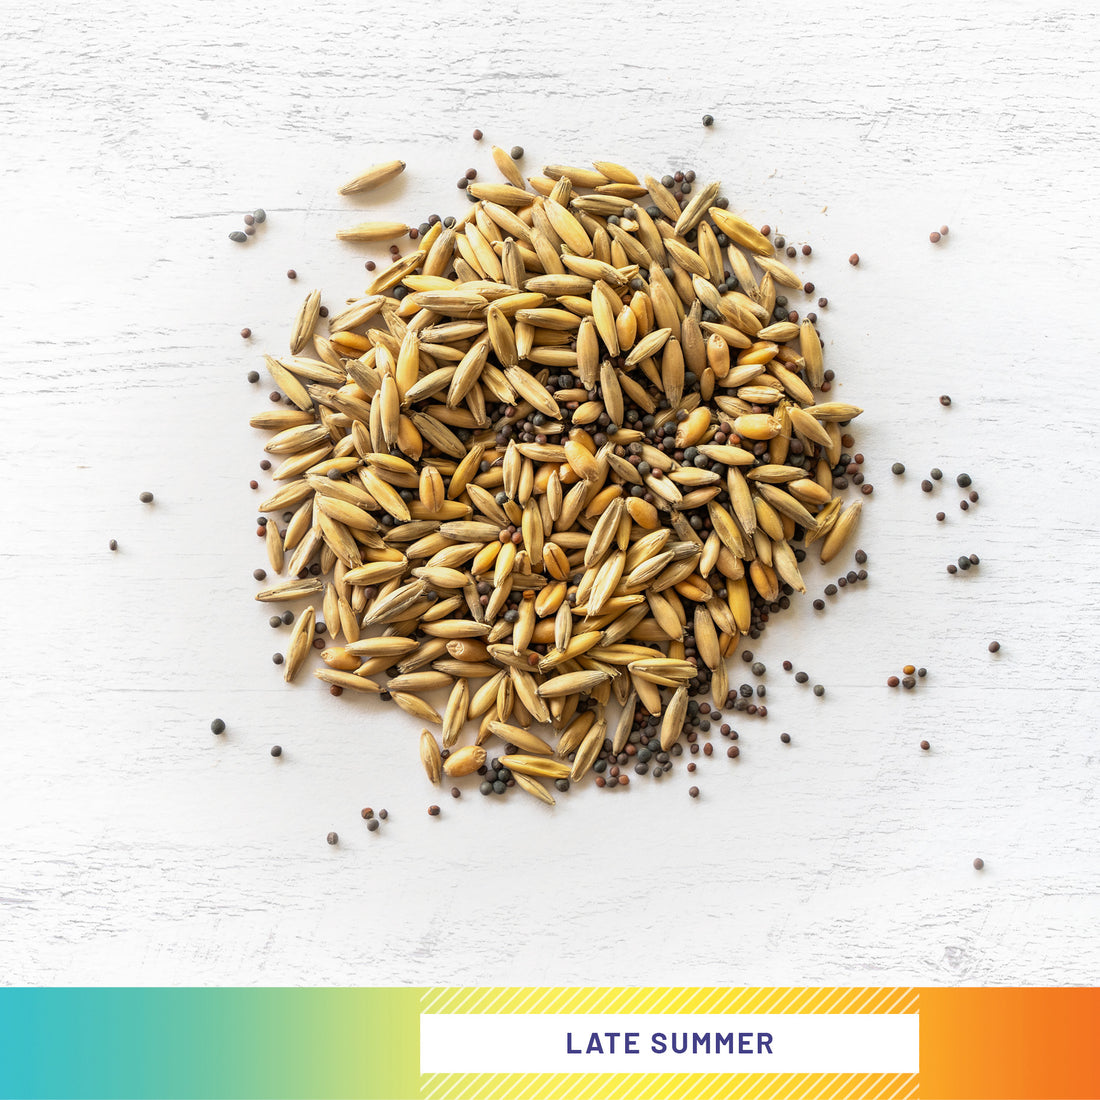
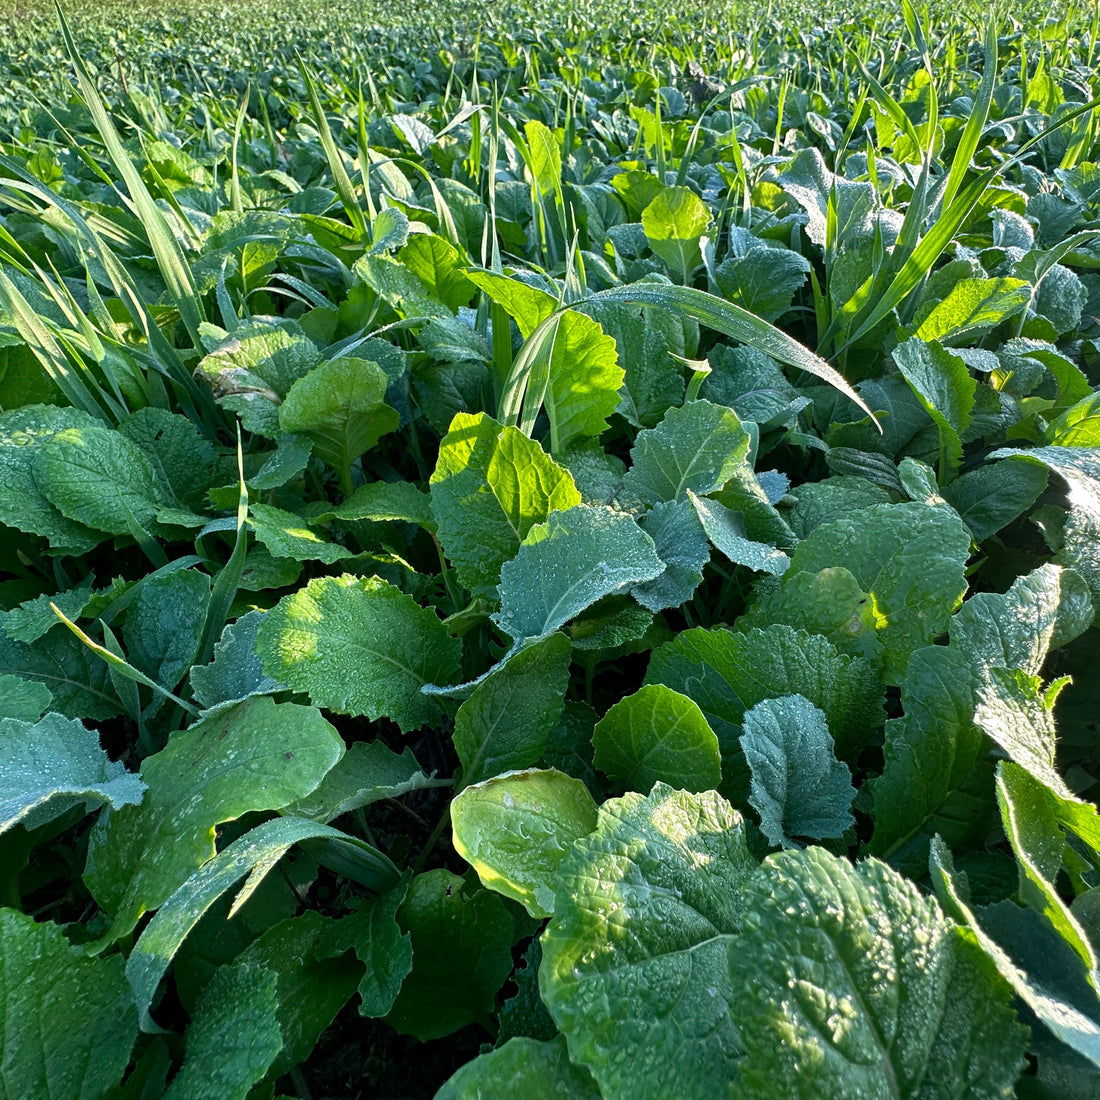
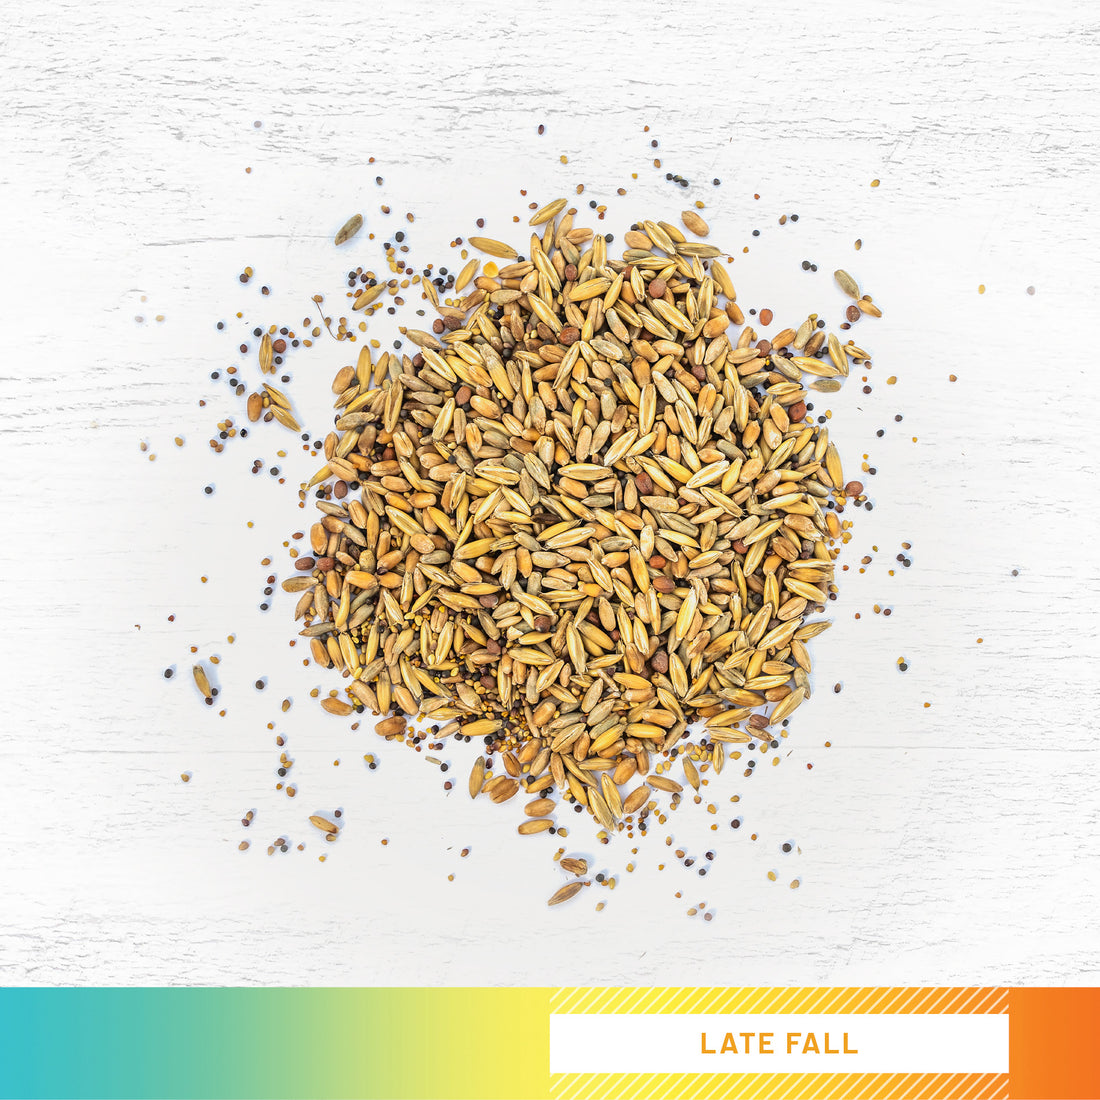
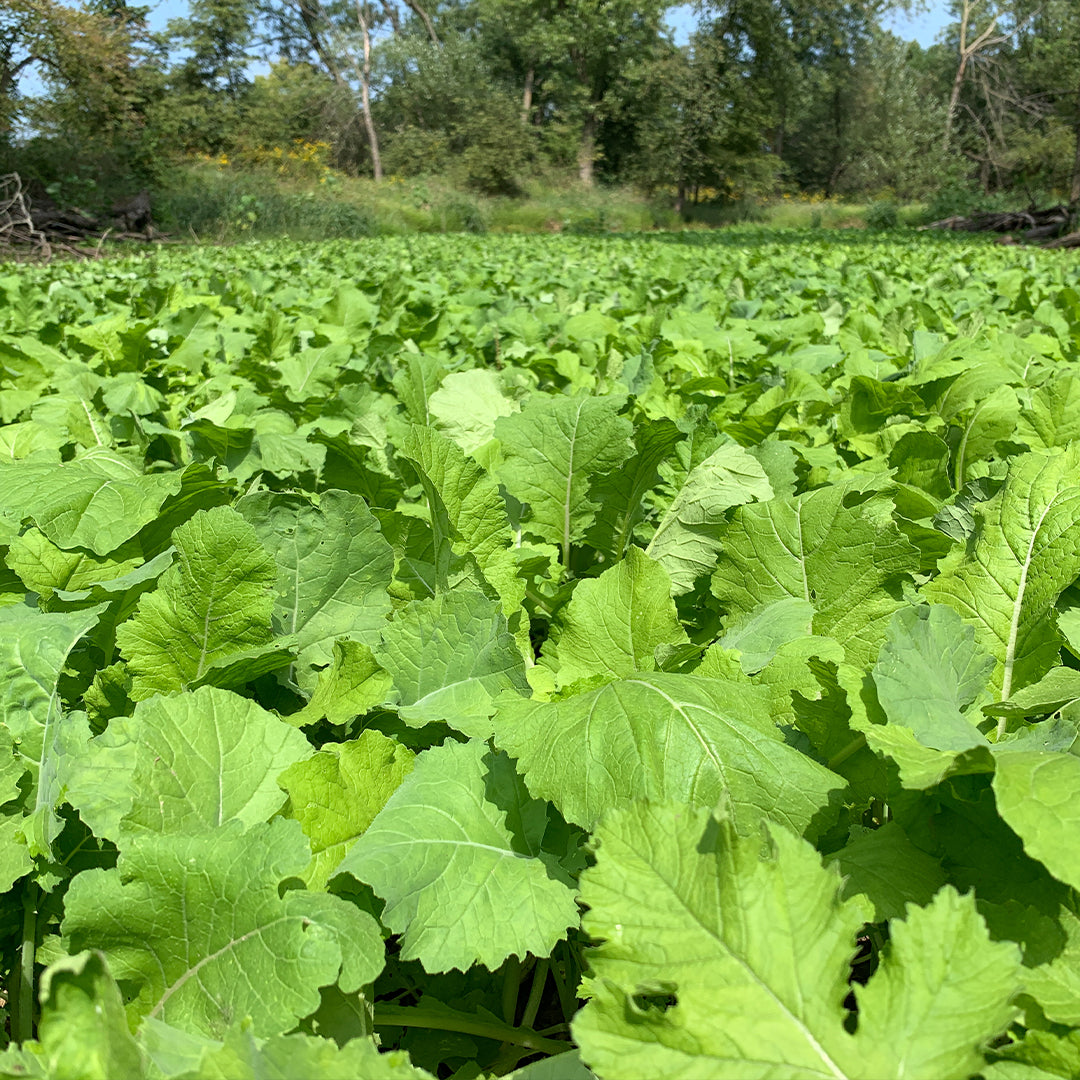
Once the tilling of the plot was complete, step number 2 was to complete a soil sample. I took soil samples from several areas of the farm, one of which was the brush pile plot. Within just a week, I had the results of the soil tests. The samples indicated that the brush pile plot pH was low (5.5). This was a pretty common theme across the farm. In an effort to get the pH closer to 7, we spread granular lime across sections of the property that were slated to go into row crop rotation. At this time, I elected not to spread lime on the brush pile plot, simply to save a little money, and I knew I wanted the plot to be clover long-term. Clover can flourish in a wide range of soil types and conditions, and when you use a seed blend, you can increase your odds of having a few of the different varieties take hold. With the seed bed prepped, I used a hand crank broadcast seeder to seed the brush pile plot to a brassica blend and added a clover blend as well. Since I was late in the year for establishing a clover plot for the upcoming season, I elected to incorporate a fall plot mix into the area. The brassicas have a short growing cycle, and since I was approaching the end of July at this point, I felt it was the best option for incorporating as much food on the property as possible in a short period of time. Once the seed was on the ground, I used a water-filled yard roller I pulled behind my UTV to pack the seed bed. The next step was to cross my fingers for rain! Unfortunately, the rains were minimal that year leading up to the season. The brassicas never generated any bulbs but did green up nicely in early October due to catching a few rain showers, but the clover did surprisingly well given the lack of rain.

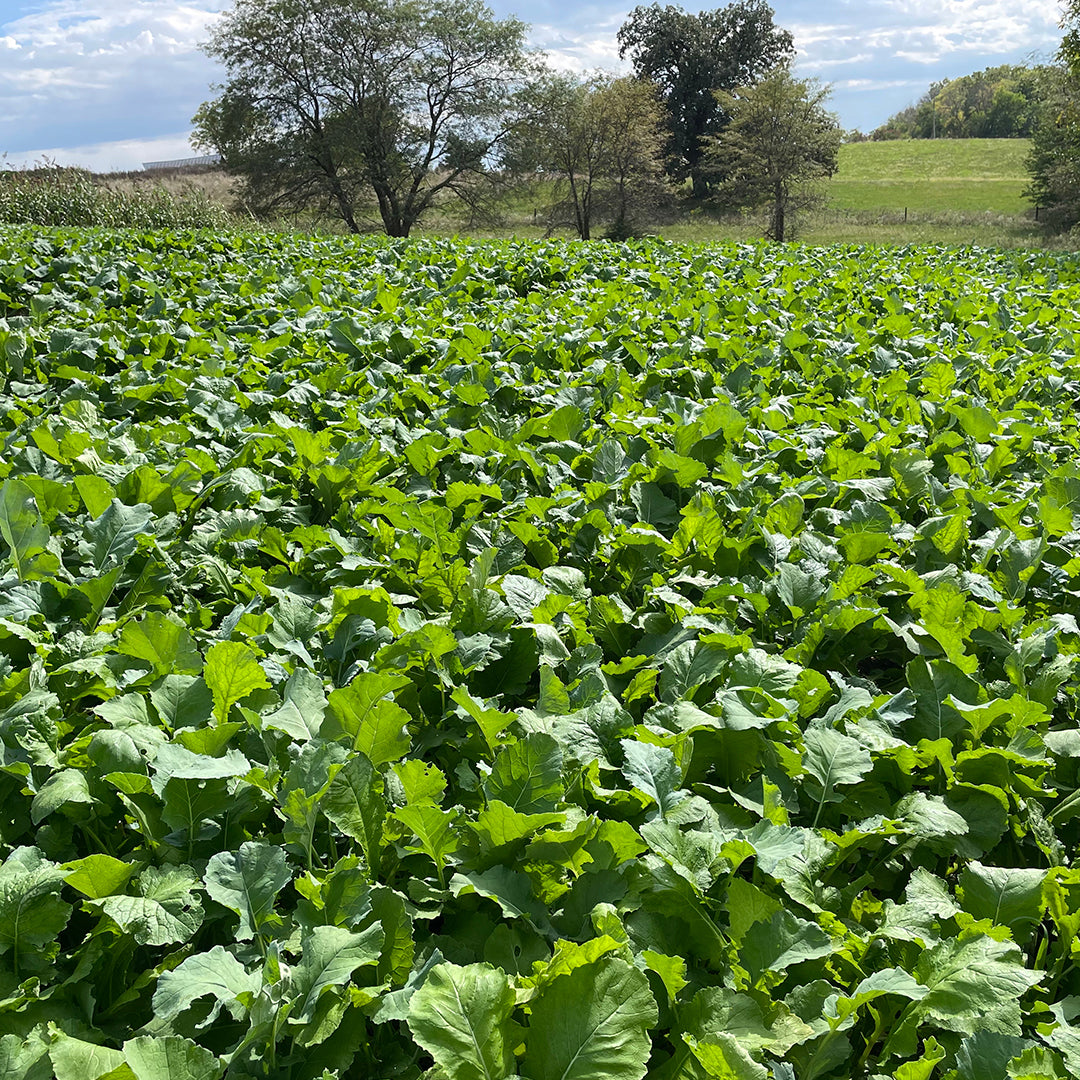
The clover was patchy across the plot, which gave me confidence that the plot would take a big leap during 2022. During the spring of 2022, I did a light frost seeding across the plot with additional clover seed. This is one of the most powerful processes someone can take advantage of with little to no equipment. By taking advantage of the freeze/thaw cycles that the soil experiences during spring with varying temperatures, the seed spread on top of the soil works it’s way into the ground. This helps ensure good germination and seed to soil contact. By early summer that year, the plot was a lush clover plot. A huge improvement from the 2021 season and it was during this time that I began referring to this plot as the “Clover Plot”.


Once the clover plot was established, it became one of my favorite spots on the farm. I’ve just always loved how it is set up, but being wired the way I am, nearly every time I was there, I’d stare at the brush pile and dream about how I could better utilize those acres. Over the years, the plot has regularly been one of the best food sources on the property. The stand location in the white oak is one of those spots I always anxiously await hunting. Though oftentimes my mind is not on the hunt when I’d sit there. I would obsess about the brush pile and constantly look at my OnX Hunt app to envision what I could manipulate those acres into that would better provide for wildlife.
In February of 2024, I finally put all that time spent dreaming into action. In my eyes, managing wildlife comes down to four basic components: food, water, shelter, and space. So, when I took a step back and tried to evaluate what my farm was lacking, one component stuck out to me. One I had put little to no effort into managing during my ownership and that was water. Essentially since I bought the property, we had been in a state of drought conditions. Area 52 has a series of ditches through the property that will often hold water but on multiple occasions during the previous years, the creeks and ditches had run dry. Meaning that wildlife would need to leave my property in order to seek out water, which they needed to survive. So, I felt confident that if I could incorporate a water source on my property I could in turn better provide for wildlife, and potentially increase the holding capacity of my farm. In February, I approached a local contractor with a budget and a goal of creating a “waterhole”, in the area where the brush pile sat adjacent to the clover plot. The spot was a natural drainage area and appeared to have sufficient runoff to provide a permanent water source. I provided maps to the contractor that I drew on OnX maps, which included where I envisioned the dam being. Having a good prior relationship with the contractor helped me through this planning process because I was familiar with his work, skill level, and knowledge base. Although I enjoy driving around big kid Tonka toys, I recognize that there’s times to trust the experts. I remember laying out my wish list with the contractor and then leaving him with the thought: “make it as big as you think the area can handle.”
Days later, my water hole idea grew into a full-blown ¼ acre pond! It was incredible to watch the project I envisioned for so long come to life. As I watched the pond take shape, I began to foresee the pond becoming an iconic spot on the farm. Not only was it going to better utilize acres that I was previously getting little to no value out of, but it was also going to have the potential to have a high return on my investment when it came to financially investing in the property.

In less than a week, the final shape of the pond was complete. Within days of its completion, spring rain showers began to fill up its banks. During this time, I knew it was critical for me to lay the groundwork for the future of the clover plot. An unfortunate side effect of the project was that the lush established clover plot had been partially destroyed in order to carve out the pond and create the dam. Portions of the plot were salvageable but knowing this was an opportunity to establish a foundation for the plot I elected to disk up the majority of the plot and start from scratch. Bulldozers are great at moving mass quantities of dirt, but the areas of the pond were uneven in spots. Reflecting on my process in 2021, step number 1 was the exact same. I needed to level out the area the plot would be. In order to save my back some pain during future clover mowings, I used my tractor with a 6ft disk and a harrow section to level out the newly shaped clover plot and the area surrounding the pond. Fortunately, I finished this in just the nick of time because within hours of completing the grading of the plot, we received multiple slow rain showers over a week’s time. Seemingly overnight the plot filled ¾’s of the way up its banks. I remember being so giddy about the observed rainfall totals because to me that meant more water flowing into the pond.


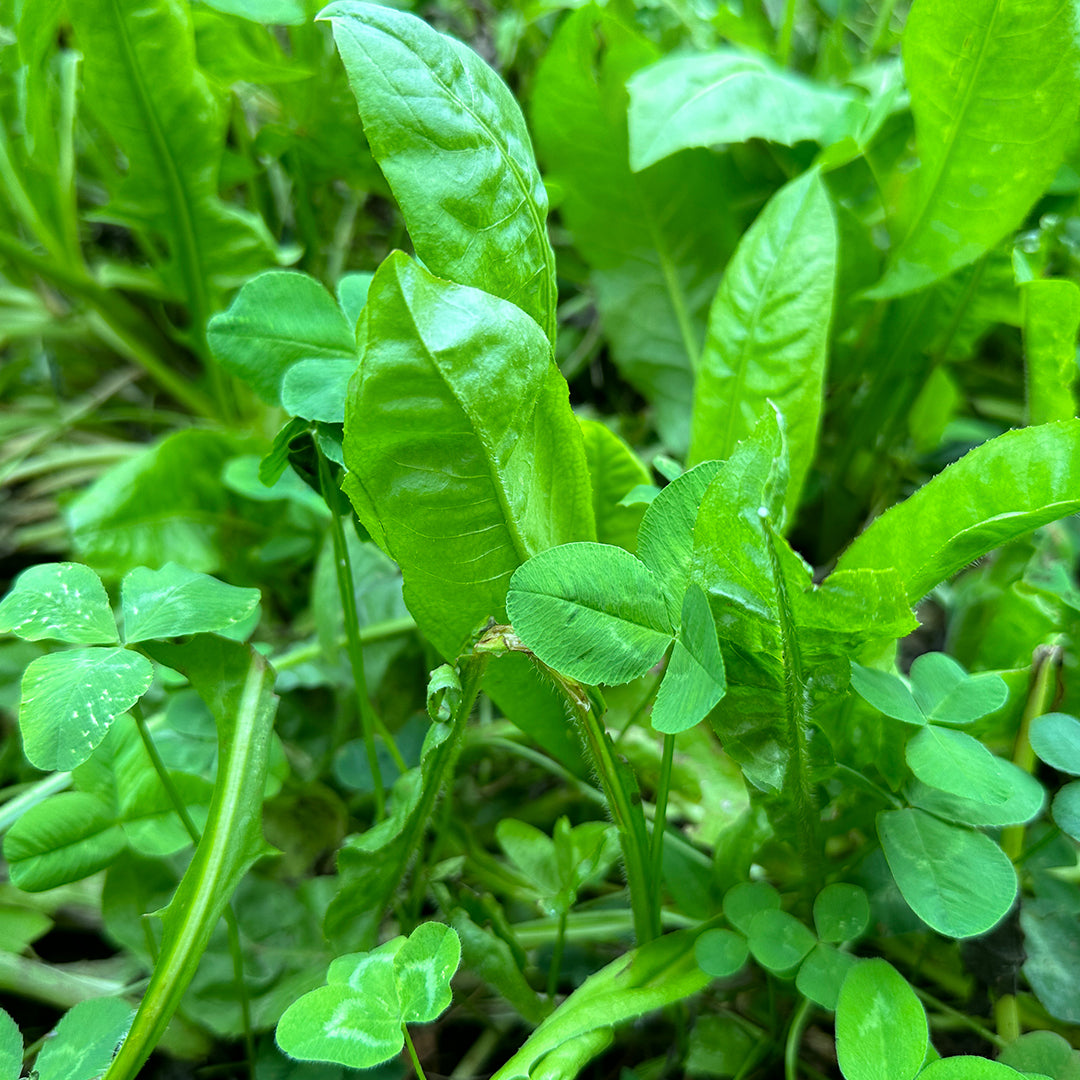
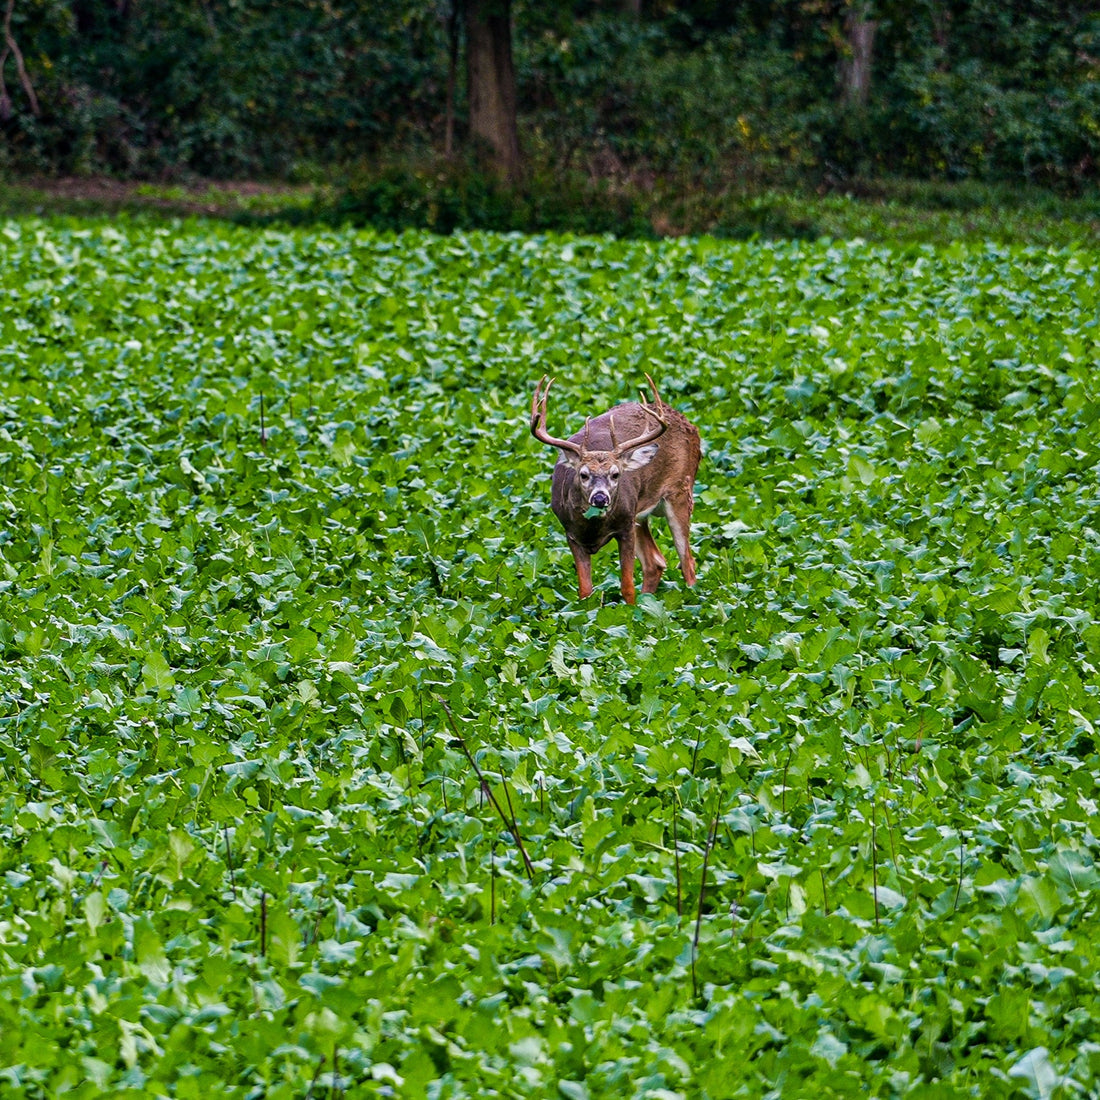
Following those seasonal rains, I made my way back down to Area 52 with my broadcast seeder and seed in hand. A huge bonus to the project is that the size of the plot increased as well. The plot was now a little under an acre in size, making it a perfect sized plot for bowhunting. When it came to making my seed selection, I knew I wanted the plot to continue to be clover long-term. Since we were still early in the growing season, I chose MonsterBuck’s Multi-Year cold climate clover blend which is a perennial blend. The blend includes: Renovation White Clover, Stamina White Clover, Jumbo II Ladino Clover, Persist Red Clover, and Oasis Chicory. Not only is the blend perfect for wildlife, Monster Buck’s tagline means the world to me. Sourced pure, packaged fresh. With the amount of effort I’ve put into this particular project, it’s incredibly important to choose a seed that will actually germinate and not all seeds are created equal. In an effort to get a quicker green-up around the pond to help hold the soil and prevent erosion, I also chose to seed oats as a nurse crop for the Multi-Year blend. The old adage is that oats will grow on concrete, so I was hoping to take advantage of that with the large amount of exposed dirt. In the coming months, I will continue to monitor the weed competition within the plot. Inevitably there will be a new crop of weed seed introduced in the plot that has been sitting dormant in the soil. So, I anticipate there will be a good amount of cool-season grasses, annual ragweed, and giant ragweed that will grow quickly in the coming months. I typically like to stick to mowing as the best form of weed suppressant during the first growing season. If necessary, I could apply an application of the herbicide called Clethodim (selective grass killer) in late June/early July if there’s a large amount of grass competing with the clover plot. Clover and chicory are very fast-growing plants, so if provided sufficient rain and sunlight, they will often outcompete most weed competition.
Now comes the hard part of the project, waiting. Seeing as there’s always another project on the farm, I'll do my best to occupy my time rather than sitting there watching the plot grow. I look forward to having a front-row seat to watch the new chapter of the pond and clover plot come together. If you’re interested in watching the story play out, check out Midwest Whitetail’s Youtube Channel for this process I just covered https://youtu.be/kXcrLzLM8yU?si=ELxGwWrhgBvY_zuW_ and for future updates on how it unfolds this hunting season. Good luck out there and make sure to give the guys at MonsterBuck a call for any and call food plot related questions!